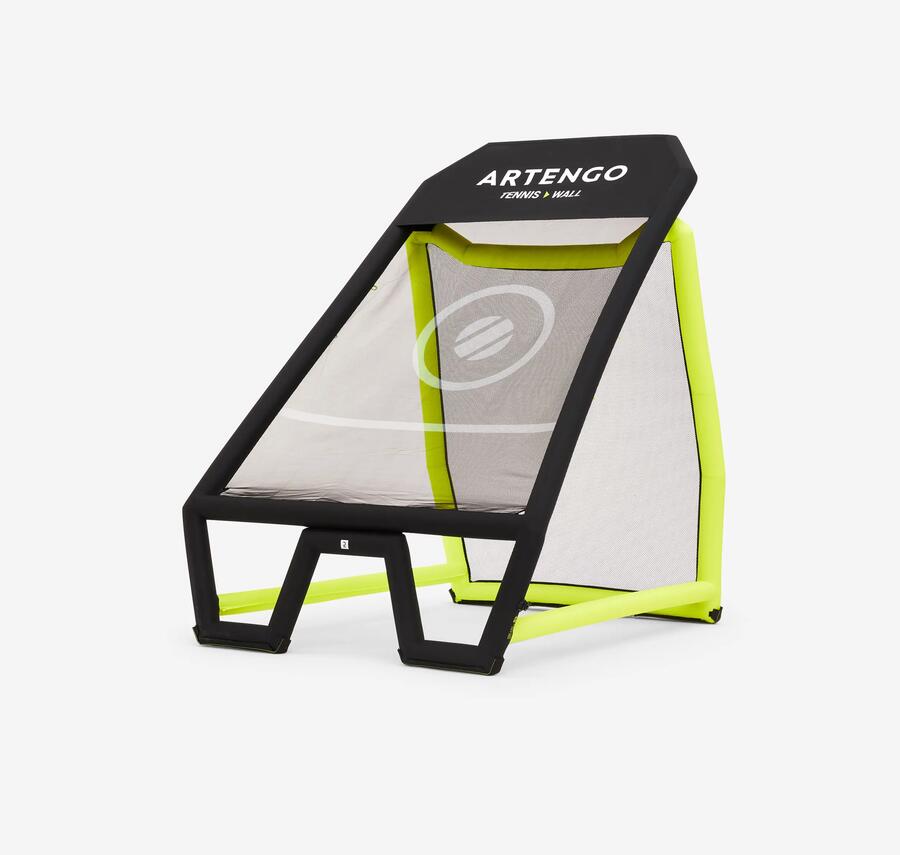
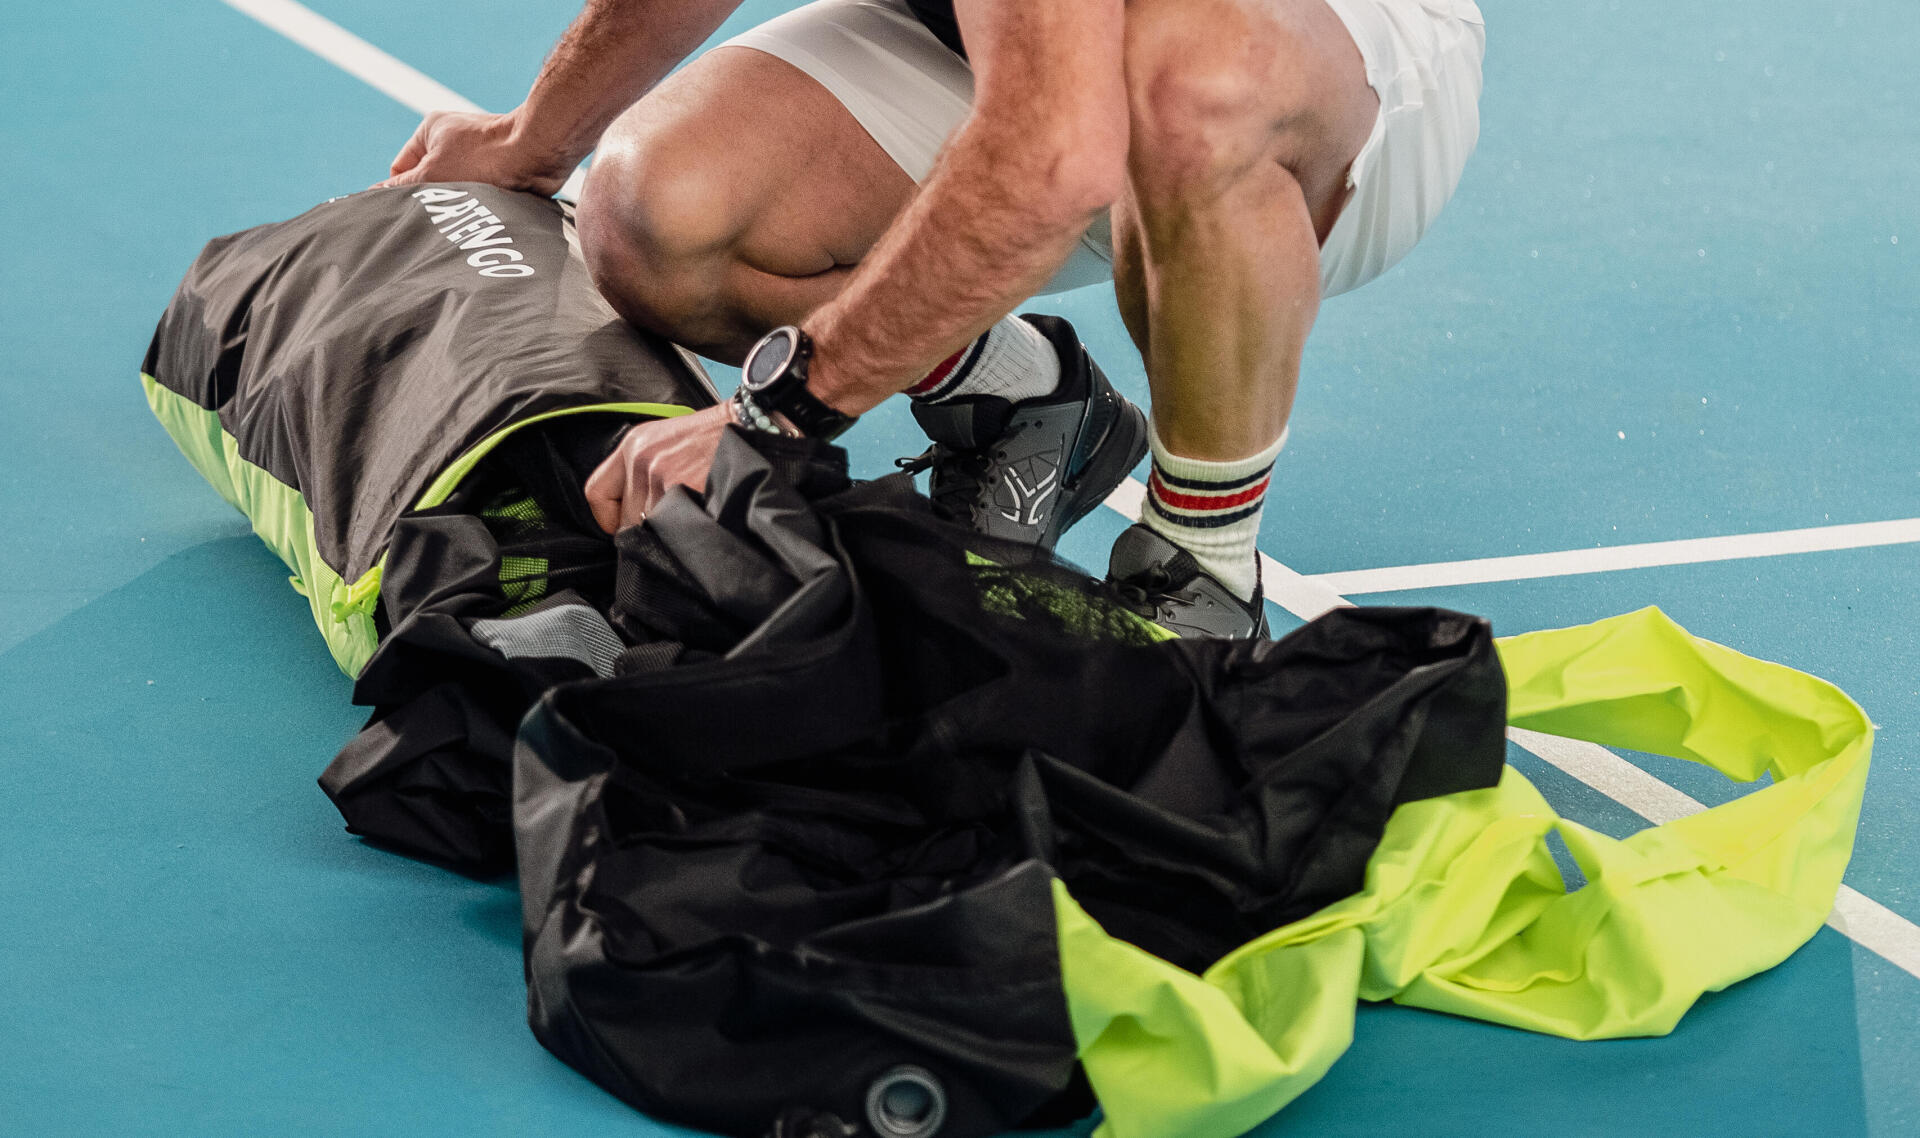
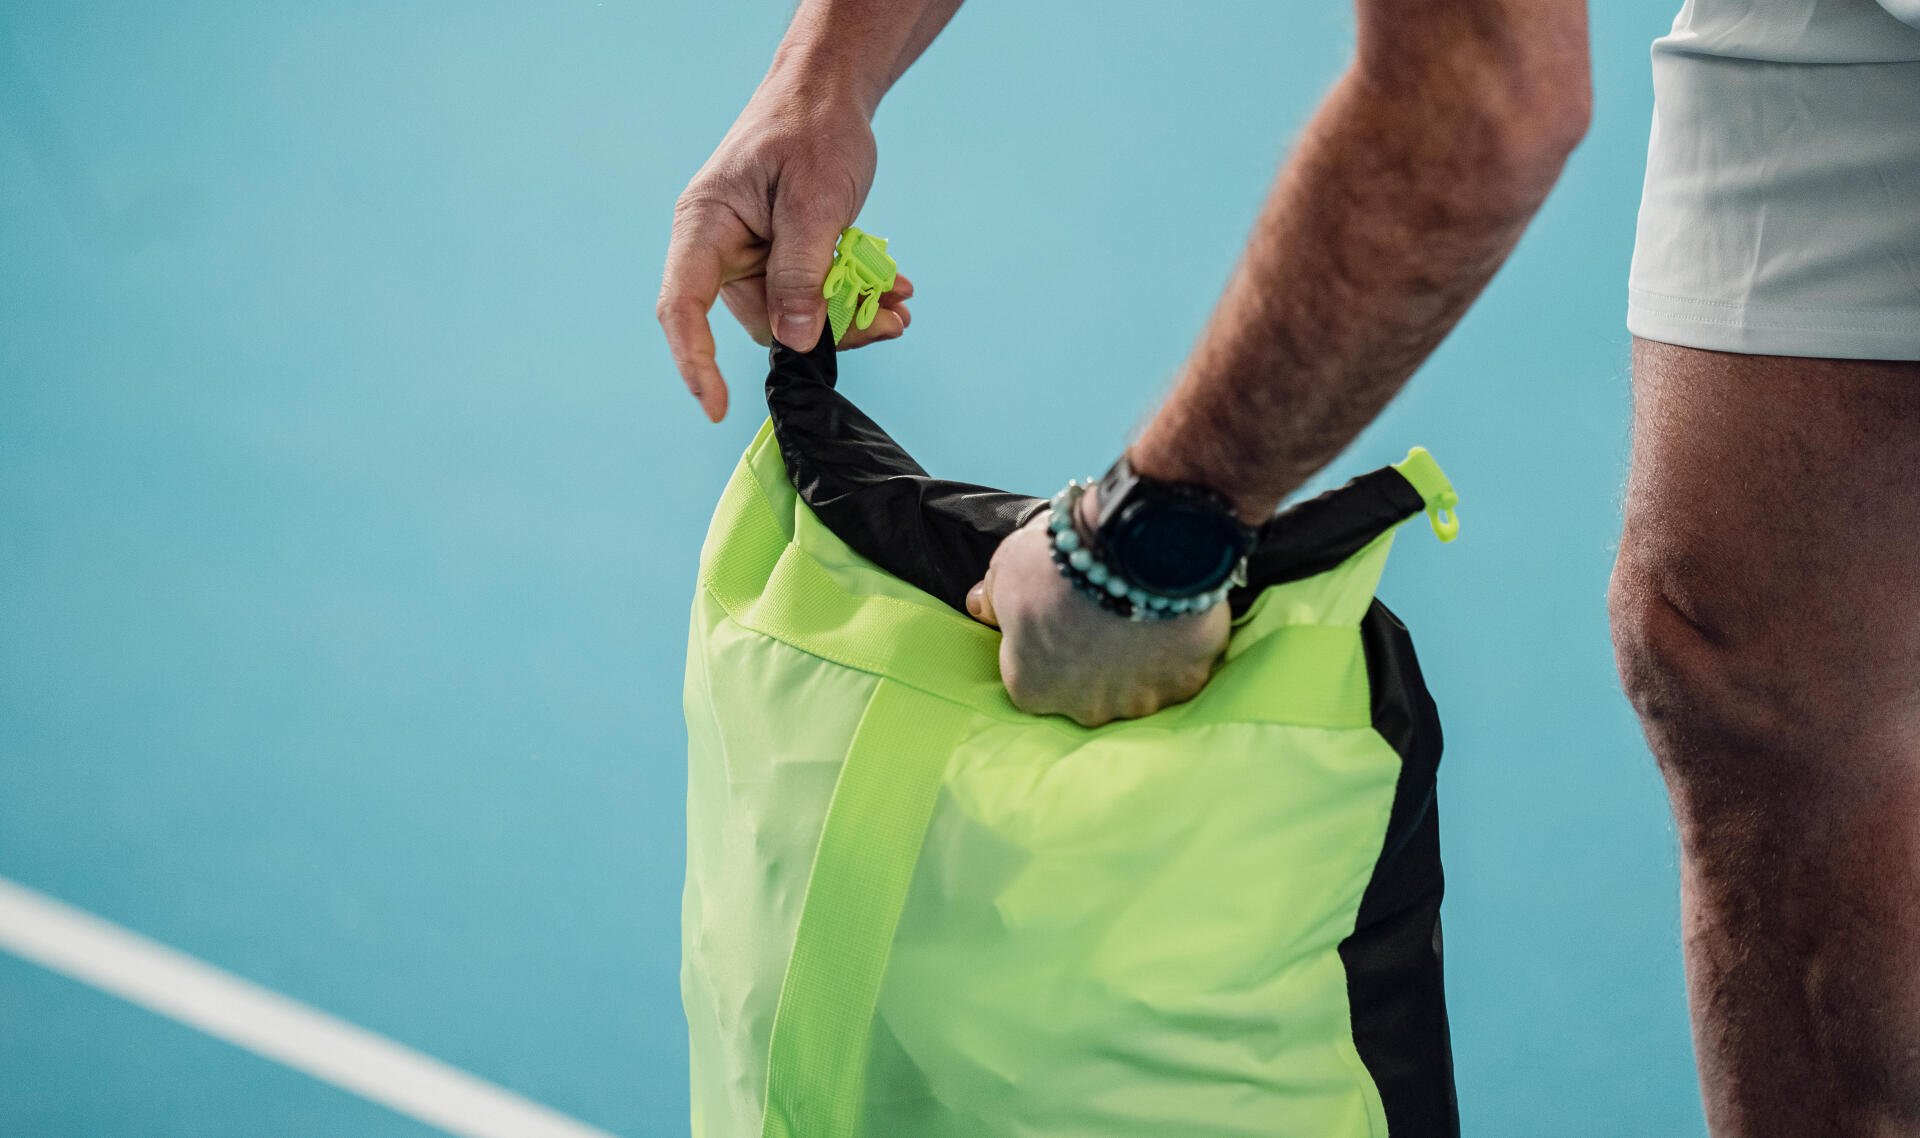
Find out all the information you need to install, put away, store and look after your Tennis Wall.
Step 1
Put the wall on the ground, with the black side facing up.
Step 2
Inflate the wall to a
maximum pressure of 6 psi/0.4 bar.
Step 3
Make sure the pads are correctly positioned. (Don't hesitate to change the protective pads if need be).
Step 1
Unscrew the valve completely. The wall deflates and falls to the floor. LOCATE THE VALVE.
Step 2
Put the wall straight in the bag, WITHOUT FOLDING IT, starting with the part opposite the valve and ending with the valve, gradually expelling air from the wall along the way.
Step 3
Hold the two upper edges of the bag, roll them up three times, then close with the loop.
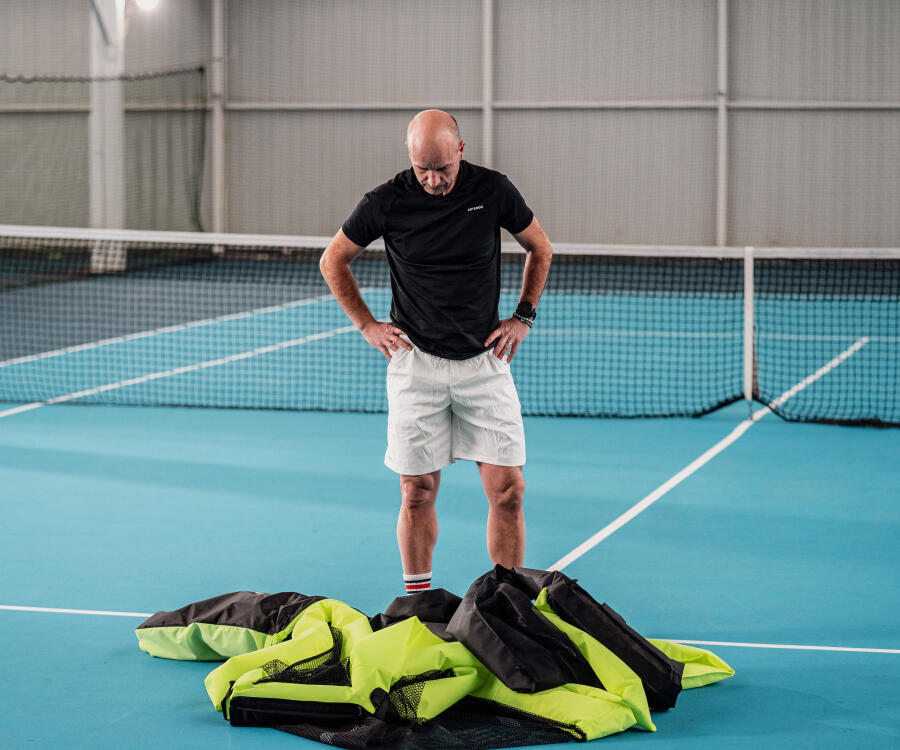
Do not put the tennis wall away without the bag when it is deflated.It may suffer damage if it comes into contact with other items.
Even when it is in its bag, be careful not to store the wall next to anything sharp, prickly or which may pinch the bag.
Valves
Ref : 5593962
Pads
Ref : 8786430
Torn net
If the net is torn, it can easily be repaired with a thermobonding patch (you can get one from your nearest repair shop) or by rethreading it.
Punctures
If your wall suffers a puncture, go to your nearest repair shop. They'll have the solution you're looking for.